MEDIAZONE WORKSHOPS
Intro to Video Editing
Target: 18-year-old high school students
Format: 1.5 hr Theory + 2 hr Practical
Focus: Adobe Premiere Pro (desktop) with brief mobile mention
Exercise: Edit a short video using provided footage and music
Part 1: Theory Workshop (1.5 hours)
Icebreaker & Inspiration
- Quick intro poll: “Have you ever edited video before?”
- Show a short 30–60 sec edited video (fun, creative, professional)
- Ask: What makes this video engaging?
What is Video Editing?
- Role of editing in storytelling and communication
- Different types of edits: linear, montage, narrative
- Real-world examples (YouTube, music videos, short films)
Editing Basics
- Core Concepts:
- Cut, trim, split, ripple delete
- Transitions and timing
- Syncing with music, pacing
- Brief Mobile Mention (5 mins):
- Quick look at CapCut or InShot
- Ideal for social media / quick edits
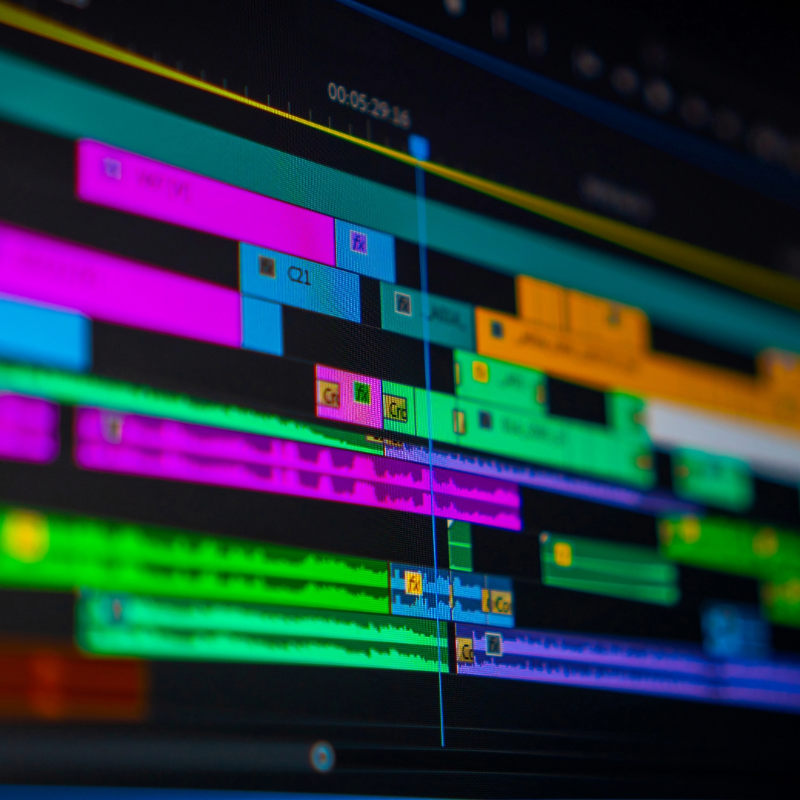
Intro to Adobe Premiere Pro
- Overview of the interface:
- Project panel, timeline, preview monitor
- Tools: Razor, Selection, Move, Ripple Edit
- Demo:
- Importing footage and music
- Assembling clips on the timeline
- Adding basic transitions and titles
- Export settings (MP4, H.264, resolution basics)
Workflow Recap + Tips
- Typical workflow: Import > Edit > Review > Export
- Organizing assets in bins
- Shortcuts that help beginners
- Save often & keep backup copies
Part 2: Practical Session (2 hours)
Setup
- Open Premiere
- Instructor ensures all students have:
- The provided video clip(s)
- Music track
- Title/logo graphic (optional)
Step-by-Step Guided Edit
- Students follow along:
- Import media
- Place video/audio on timeline
- Cut and arrange clips
- Add transitions and basic effects
- Add music and adjust levels
- Insert opening/closing title
Independent Editing Task
- Goal: Create a 30–60 sec video
- Use at least 3 cuts
- Add music and adjust audio levels
- Include one title screen
- Export in H.264 (MP4)
- Instructor walks around, offers tips and feedback
Peer Review & Showcase
- Students share their edits (voluntary)
- Positive feedback round
- Highlight creative use of cuts, music sync, transitions
Wrap-Up
- Recap key editing concepts
- Share free learning resources (YouTube channels, Adobe tutorials)
- Q&A / feedback on session
- Optional challenge: Finish a short 1-min project at home
Intro to Video Editing & Music Creation Using AI Tools
Audience: 18-year-old high school students
Total Duration: 3.5 hours (1.5 hr Theory + 2 hr Practical)
Tools: Adobe Premiere Pro, Soundraw, Topaz Video AI, Adobe Podcast, ChatGPT or similar AI engines
Part 1: Theory Workshop (1.5 Hours)
Welcome & Overview
- Quick intro to AI in creative media
- Session goals: Video + AI-enhanced audio + AI-created music
- Icebreaker: Guess which video used AI tools!
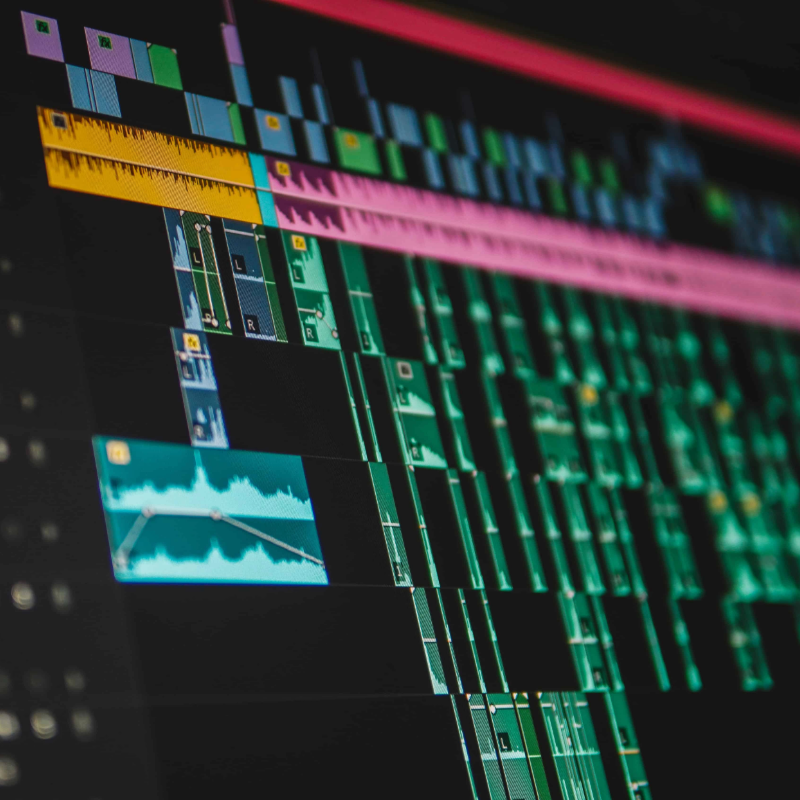
Fundamentals of Video Editing
- Timeline, trimming, transitions, sound sync
- Key Adobe Premiere Pro tools
- Role of visuals vs. audio in storytelling
Enhancing Video with Topaz AI
- What is Topaz Video AI?
- Use cases: Upscaling, frame interpolation, slow motion
- Before/after example demo
AI Music Creation with Soundraw
- How AI composes music
- Demo: Create music for a short clip
- Matching genre and emotion to visuals
Voice, Sound & Adobe Podcast AI
- Adobe Podcast Enhance: Fix poor voice recordings
- Voice cloning and narration (ethical talk)
- Sample demo: Clean audio vs. raw recording
Using AI Chat Engines in Media
- How ChatGPT helps: brainstorming, scriptwriting, shot lists
- Demo: Prompt ChatGPT to generate a video idea or scene description
- Students ask ChatGPT for video title ideas live
Part 2: Practical Hands-On Session (2 Hours)
Task Setup
- Each student (or small group) gets a short raw clip
- Goal: Create a short 30–60s edited piece with music and clean audio
Edit Video in Premiere Pro
- Trim, reorder, and enhance video
- Add transitions, color correction
- Use Topaz AI if possible (guided example)
Add Music from Soundraw
- Generate custom track to match mood
- Import into Premiere, sync to visuals
- Adjust levels, fade in/out
Enhance or Add Voice in Adobe Podcast
- Record or import voiceover
- Use Adobe Podcast to clean and enhance
- Sync narration with key visuals
Export & Share
- Export final edit
- Optional: Present or screen a few edits
- Quick feedback and celebration
✅ Wrap-Up
- What AI tool did they enjoy the most?
- Career and creative possibilities using AI
- QR code to resource sheet or Google Drive folder
- Take-home tips or digital badge of participation
A Day in the Life: Social Media Manager, Copywriter & Content Creator

Part 1: Theory Workshop (1.5 hours)
Welcome & Icebreaker
- Quick poll: Favorite social media platform & why.
- What do you think a Social Media Manager does?
Role Breakdown
- Social Media Manager: Planning, scheduling, strategy.
- Copywriter: Writing captions, CTAs, hashtags.
- Content Creator: Photos, videos, reels, stories, memes.
- Daily tasks and tools used (Trello, Canva, Meta Suite, ChatGPT, etc.).
Skills & Tools Overview
- Communication, creativity, time management.
- Using AI & design tools (e.g., Canva, ChatGPT, CapCut).
- Analytics basics: reach, engagement, insights.
The Content Calendar
- How to plan weekly content.
- Posting frequency and timing.
- Understanding different content formats: reels, stories, carousels, etc.
Case Study & Q&A
- Real-world example: “A day in the life” of an actual brand or influencer.
- Open Q&A.
Part 2: Practical Session (2 hours)
Team Briefing & Task Setup
- Students split into small teams (3–4 per team).
- Scenario: You are the Social Media Manager for a new eco-friendly café.
- Each team will:
- Create a 1-day content plan (3 posts).
- Write captions.
- Design 1–2 posts (image or short video).
- Present to the group.
Hands-On Creation
- Use Canva (desktop/mobile) for visuals.
- Use ChatGPT or similar for caption generation and hashtag ideas.
- Instructor circulates for guidance & feedback.
Team Presentations & Peer Feedback
- Each group presents their content plan.
- Class gives light feedback: What works? What could be improved?
✅ Outcomes
By the end of the session, students will:
- Understand the multitasking role of a social media professional.
- Learn to use basic tools for writing, planning, and designing.
- Experience teamwork under creative pressure.
- Present ideas clearly and receive feedback.
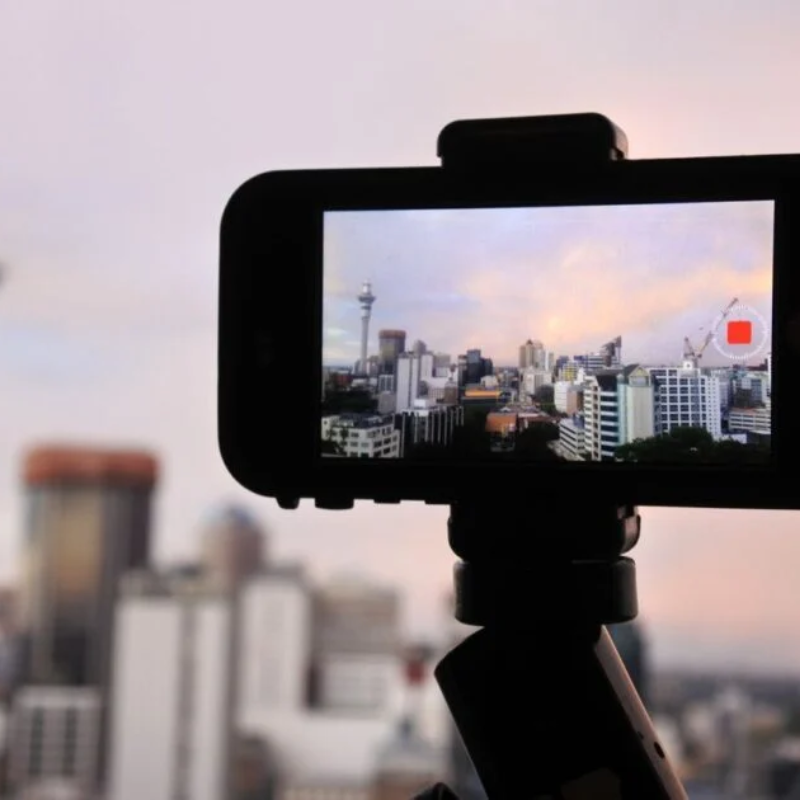
Mobile Phone Movie Making
Total Duration: 3.5 hours
- Theory: 1.5 hours
- Practical: 2 hours
Target Group: 18-year-old high school students
Goal: To introduce students to the fundamentals of mobile filmmaking and empower them to plan, shoot, and edit short films using their phones.
Part 1: Theory (1.5 hours)
Introduction to Mobile Filmmaking
- What is mobile filmmaking?
- Why mobile? Advantages and limitations
- Examples of successful mobile-made films (1–2 clips)
The Basics of Visual Storytelling
- The 3-act structure (Beginning, Middle, End)
- Storyboarding & shot planning
- Keeping it short and engaging (60–90 seconds)
Cinematography with a Phone
- Framing & composition
- Lighting tips (natural light, practical lights)
- Camera movements (handheld, tripod, stabilizers)
- Orientation: landscape vs portrait
Audio & Sound
- Importance of clear audio
- Using external mics or quiet environments
- Creative use of sound design/music
Editing on Mobile
- Recommended apps (CapCut, VN, iMovie, InShot, etc.)
- Basic cuts, trimming, adding music & titles
- Color correction basics
Tips for Better Production
- Shooting vertically vs. horizontally
- Keep it steady!
- Clean your lens
- Short and sweet: planning for 1–2 min films
Part 2: Practical (2 hours)
Group Activity Briefing
- Break into small groups (2–4 students)
- Choose a theme or prompt (e.g., “A secret”, “One minute mystery”, “Lost & found”)
Planning
- Brainstorm story
- Create quick shot list or storyboard
- Assign roles (camera, actor, director, editor)
Shooting
- Students film scenes using their mobile phones
- Encourage experimentation and multiple takes
Editing
- Edit directly on mobile apps
- Add music (royalty-free), basic effects, titles
Showcase & Feedback
- Each group presents their film (1–2 mins)
- Quick positive feedback from instructor & peers
✅ Materials Needed:
- Students’ mobile phones (with camera and editing app installed)
- Headphones or small Bluetooth speakers (for sound checking)
- Optional: phone tripods, gimbals, external mics
- Printed mini storyboard templates (optional)
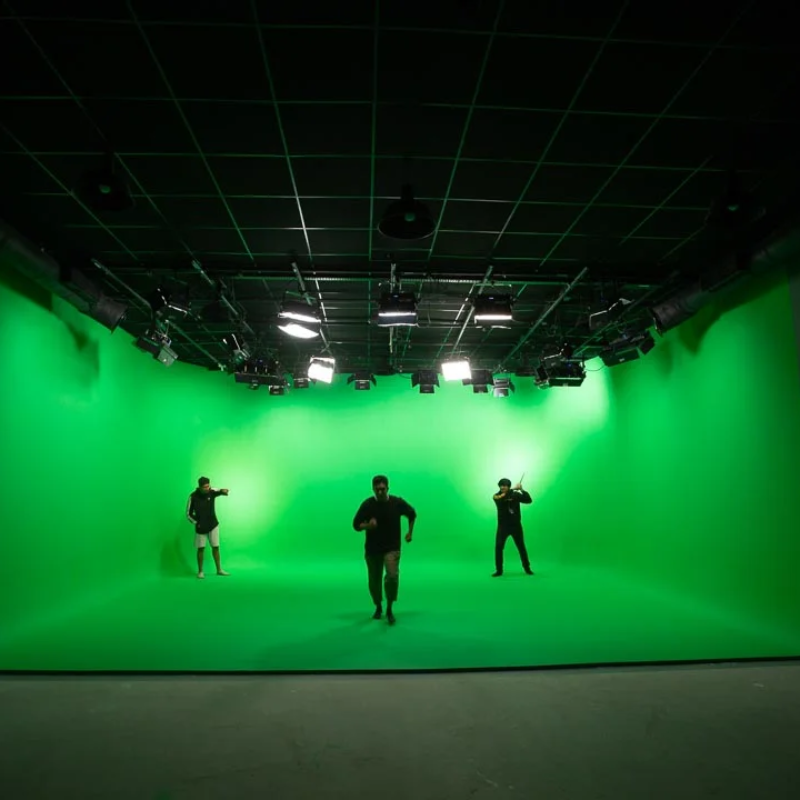
Green Screen Special Effects (Indoor/Outdoor)
Duration: 3 hours (including short breaks)
Target Audience: Upper-year high school students (ages 16–18)
No advanced prior experience required — basic camera and editing familiarity recommended.
Workshop Objectives:
By the end of this workshop, students will:
- Understand how green screen (chroma key) technology works.
- Learn how to light a green screen properly both indoors and outdoors.
- Shoot footage for green screen use.
- Key out the green screen in editing software.
- Combine foreground and background footage for visual storytelling.
Part 1 – THEORY (Presentation + Demos)
The Magic of Green Screen: How It Works
Topics Covered:
- What is Green Screen (Chroma Key)?
Definition & brief history (news, movies, YouTube)
Why green? (and when to use blue)
- Indoor vs Outdoor Use
Lighting challenges & solutions
Wind, wrinkles, and natural light interference
- Key Equipment Overview:
Green screen (cloth, paper, pop-up)
Lighting (3-point lighting for indoor; sunlight control for outdoor)
Camera settings: resolution, depth of field, ISO
- Visual Examples & Demos:
Good vs bad keying results
Case study: VFX breakdowns (short YouTube examples)
Live demo: Chromakey in Premiere Pro or CapCut
Engagement: Show 1–2 iconic scenes using green screen (e.g., Marvel or Star Wars) and ask students how they think they were created.
Part 2 – PRACTICAL SHOOTING (Split into Groups)
Lights, Camera… Green Screen!
Activity: Shoot short clips with green screen
- Form groups of 3–4 students
- Set up 2 stations:
- Indoor Green Screen Setup (controlled lighting)
- Outdoor Green Screen Setup (diffused sunlight or shade)
Each group will:
- Write a 15–20 second scene (news report, fantasy scene, teleport, etc.)
- Assign roles: actor, director, camera, lighting
- Shoot 2 versions: one indoor, one outdoor
Instructor Supervision:
- Help with framing, avoiding shadows, stabilizing outdoor screens
- Give tips: “Don’t wear green!” / “Mind the hair flyaways!”
Materials Needed:
- 2 green screens (or 1 portable)
- 2–4 cameras or smartphones with tripods
- Lighting kits or reflectors
- Props or costume pieces (optional)
Part 3 – POST & PRESENTATION (Editing + Review)
Making the Magic Real: Editing Green Screen
Activity: Edit your green screen footage
- Use accessible software (e.g., Adobe Premiere Pro, CapCut, or iMovie)
- Import clips and backgrounds
- Apply chroma key, adjust edges, color correct
- Add background video/images (sci-fi scene, newsroom, outer space, etc.)
Final Step: Showcase & Feedback
- Each group presents 1 finished clip (1–2 mins max)
- Quick peer feedback: What worked well? What could be improved?
Intro to podcasting
Intro to video podcasting
Foley workshop
Introduction to becoming a Youtuber